


Admin portals, CRM, LMS, portfolio management, service marketplaces, customer portals, CMS.

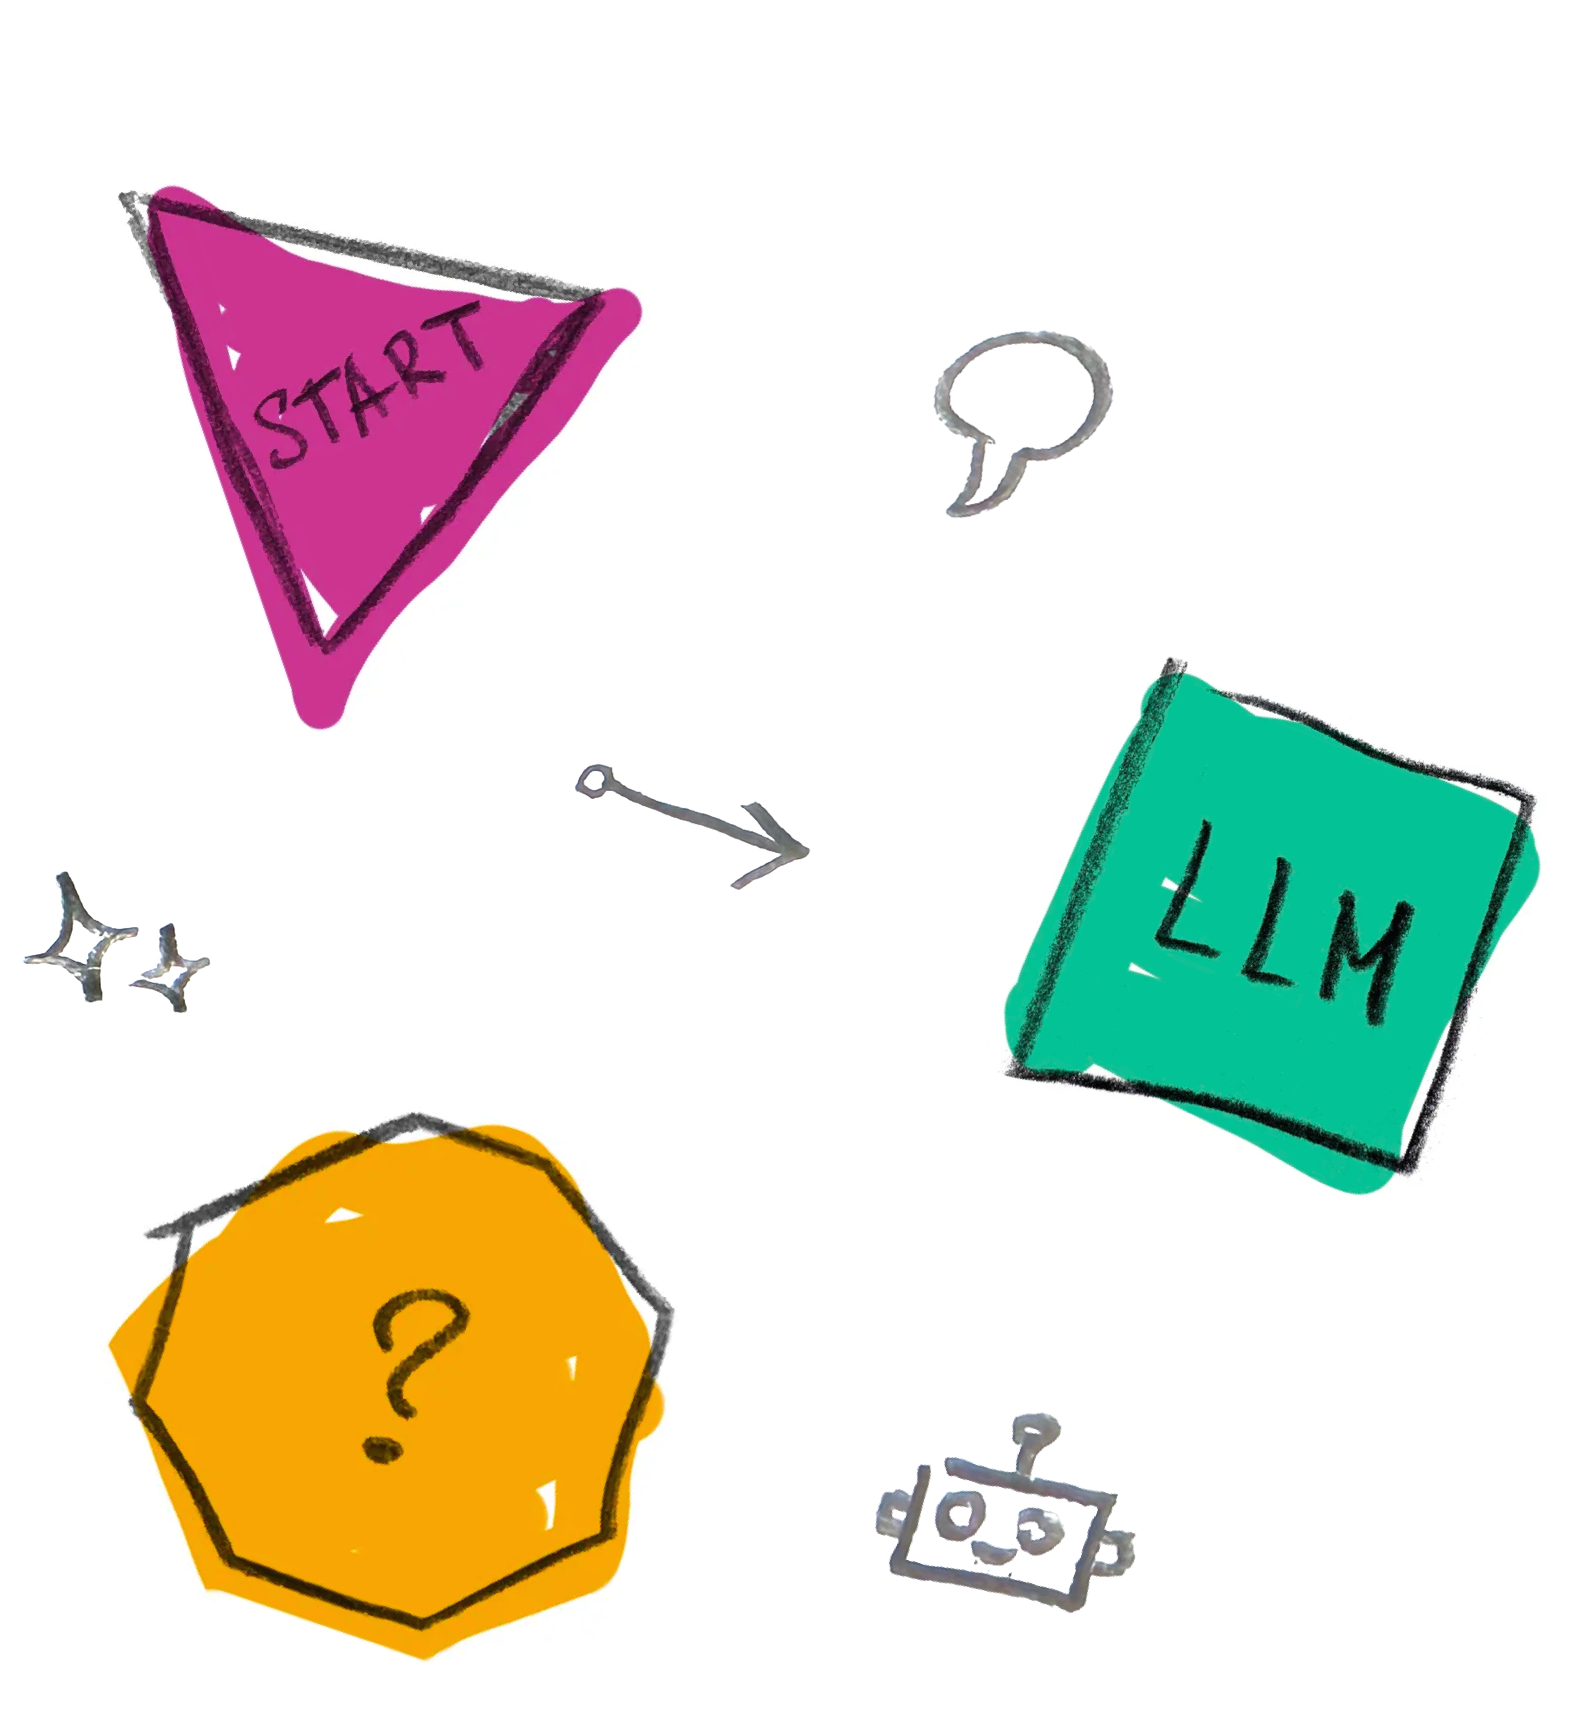
Use advanced LLMs to analyse data, autonomously perform tasks, and interact with users.

Data transformations, scalable back-end for traditionally developed UI (using ReactJS, Angular, VueJS).

Automate customer support, sell products in messengers, build clients on-boarding and many more!


Start any sort of project that will scale as far as you’d like it to.

Blaze through the MVP stage, find product-market fit fast, and reach the stars, code-free.

Create internal apps, like CRMs, HR spaces, and others—fast and cheap.

Build efficient apps for your clients and receive affiliate payments. Double profit!


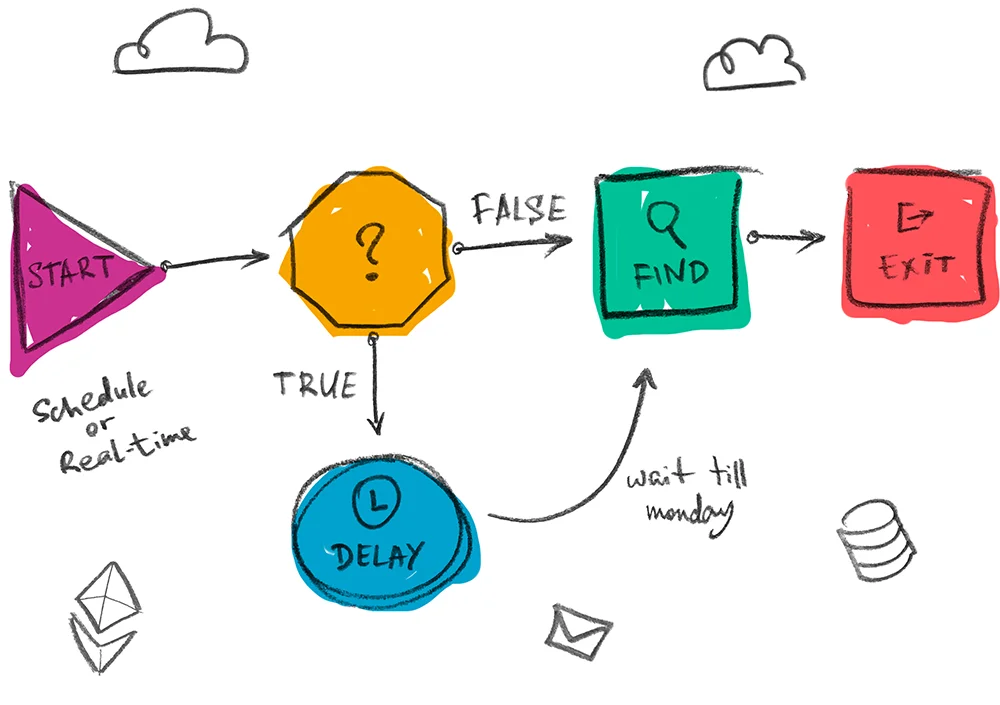
Anthropic's research (March 2026) shows AI already covers up to 75% of tasks in several occupations, yet real-world usage is just a third of its potential. Youth hiring into exposed roles has slowed by 14% — an early sign the market is shifting. Whoever builds AI agent infrastructure first wins. Directual provides everything you need without code, and its free course gets you started in an hour.

We’re back with the big one. After a stellar reaction last year, we’re doubling down — the same unbeatable deal, extended dates, even more opportunity. From November 17 to November 30, this isn’t a “maybe” — it’s your moment to jump.

While some companies pour millions into flashy ChatGPT demos and get zero results, others are already making millions from AI agents. Why do 95% of corporate AI projects fail — and how can you join the successful 5%? Let’s unpack MIT data, real-world cases, and how agentic systems with memory and learning are changing the rules of the game.
Dip your toes into the water! See the full functionality of Directual during the trial period. Try the Startup plan free, and see just how much you can achieve without any coding knowledge whatsoever.
To give you a headstart, we’ve packed all the fundamentals of Directual in a digestible video format. Build up your knowledge of the platform from the ground up, see practical app-building examples, and learn tips & tricks.